Wondershare Filmora sponsored this post. Learn more about Wondershare FilmoraPro, their professional video editing software, below.
Wondershare FilmoraPro is Wondershare’s advanced video editing program, featuring a workflow similar to Premiere Pro. FilmoraPro is a modular framework that allows you to tailor the program to your needs as a video editor. We’ll go over some of the basics of using FilmoraPro in this review, as well as some of our favorite color correcting and visual effects capabilities!
What is FilmoraPro?
When compared to Filmora9, a more beginner-friendly video editor from Wondershare, FilmoraPro is a more advanced and capable video editing tool. Stabilize footage, alter audio sync and quality, add video and audio transitions, animation and motion graphics capabilities, and more advanced color scopes for accurate color tweaks are just a few of the fascinating features!
We’ll go over all of the important features and characteristics of Wondershare FilmoraPro in this review. Workspaces, professional color correction and LUTs, sophisticated effects, and much more will be covered.
Setting Up Your Workspace
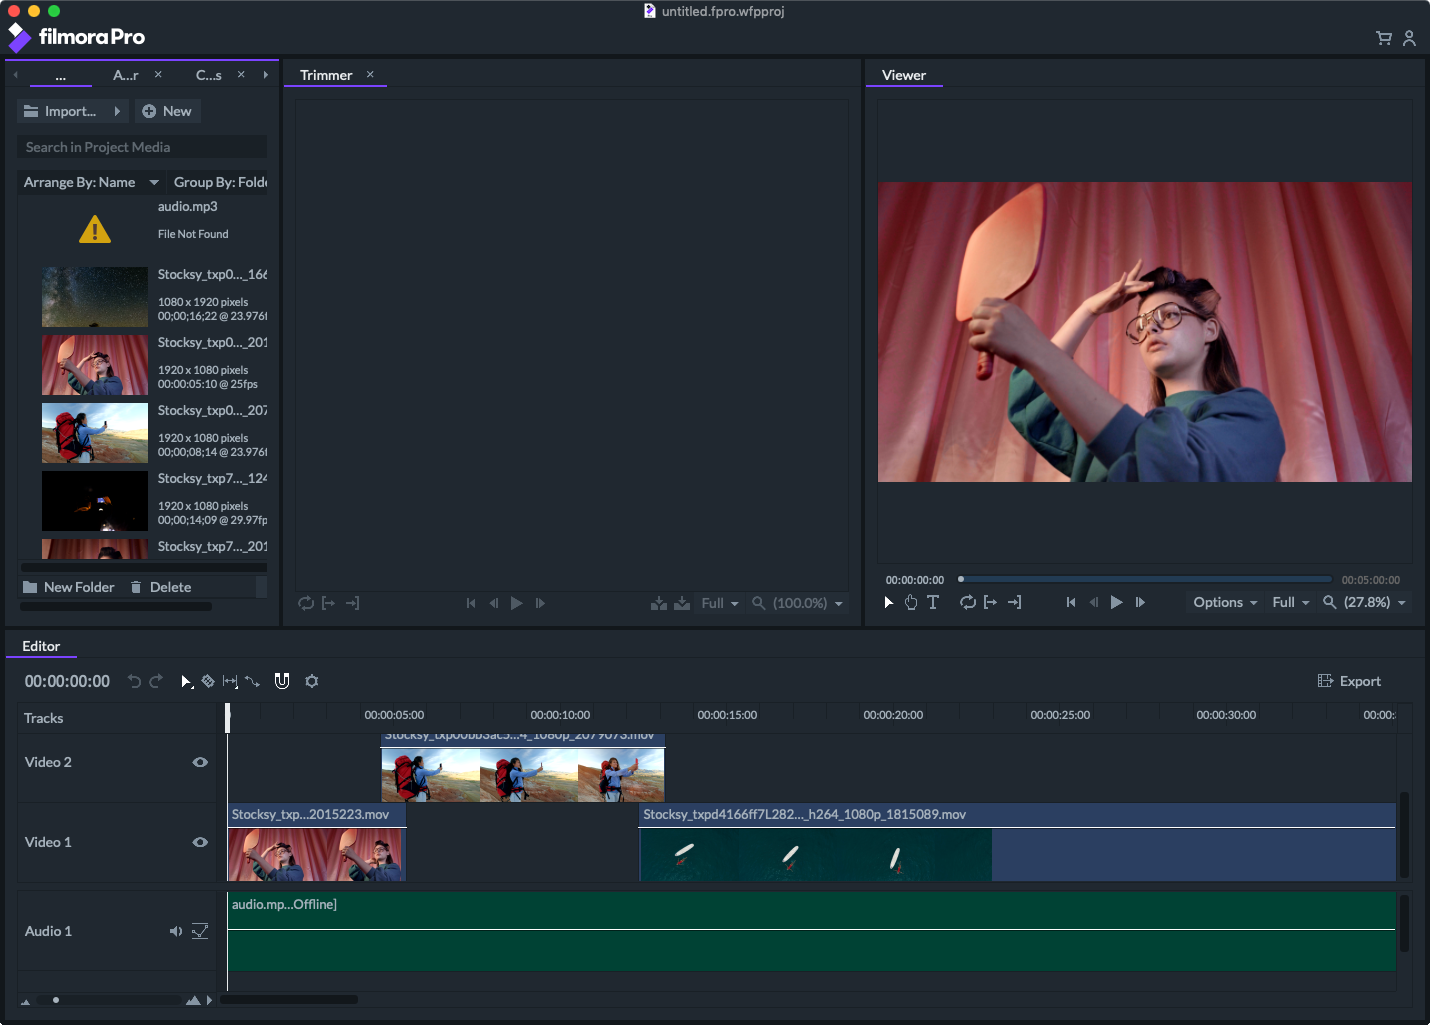
In FilmoraPro, setting up the workplace is a breeze. It’s also adaptable, so you can make it work for you based on your editing style.
From the top, you may drag and drop the various tabs and panels. You may also select’Float Panel’from the top right of any panel to float it above and move it around your working space. The panel can then be maximized for a larger view or docked back into your workspace.
Professional Color Correction
FilmoraPro does a fantastic job with color correction and color grading. You can instantly add effects to your video to apply specific settings, ranging from hue/saturation/lightness to more complicated curves modifications.
You may, of course, easily apply LUTs to your film. You know we’ve got to speak about how to add LUTs! 🙂 In Wondershare FilmoraPro, here’s a simple lesson for adding LUTs to your clips:
- Select your clip and then click Effects > Color Grading > LUT
- Click the file icon to browse for your desired LUT (lookup table). You can use .cube LUTs.
- Once you select a LUT, it will apply to your footage. Then you can adjust the intensity with the ‘Strength’ slider.
For this example, I used the Free Film Tone LUTs. If you want to learn more about FilmoraPro’s color grading features, check out their user guide.
Effects and Advanced Editing Features
Playing with amazing effects and visual modifications in editing applications is always a lot of fun for me. It’s no different in FilmoraPro. To bring your edit to life, you may easily click through effects and try out different things.
Blurs and sharpening, light flares, speed changes, and other characteristics are all regularly employed. You’ll also come across some truly unique effects that aren’t seen very often. The Heat Distortion adjustment is my personal fave. The video was given a lovely burnt blur.
While the aesthetic effects are entertaining to experiment with, having real tools for stability, audio, animation, and other basic modifications is also beneficial. FilmoraPro has a huge selection, especially in terms of audio!
This is a list of FilmoraPro’s editing capabilities, ignoring some of the areas we’ve already discussed, such as color correction and color grading, as well as other less-used tools.